Troubleshooting
The following help you to fix errors or problems that you might encounter when using Centralized Logging with OpenSearch.
Error: Failed to assume service-linked role arn:x:x:x:/AWSServiceRoleForAppSync
The reason for this error is that the account has never used the AWS AppSync service. You can deploy the solution's CloudFormation template again. AWS has already created the role automatically when you encountered the error.
You can also go to AWS CloudShell or the local terminal and run the following AWS CLI command to Link AppSync Role
aws iam create-service-linked-role --aws-service-name appsync.amazonaws.com
Error: Unable to add backend role
Centralized Logging with OpenSearch only supports Amazon OpenSearch Service domain with Fine-grained access control enabled. You need to go to Amazon OpenSearch Service console, and edit the Access policy for the Amazon OpenSearch Service domain.
Error:User xxx is not authorized to perform sts:AssumeRole on resource

If you see this error, please make sure you have entered the correct information during cross account setup, and then please wait for several minutes.
Centralized Logging with OpenSearch uses AssumeRole for cross-account access. This is the best practice to temporary access the AWS resources in your member account. However, these roles created during cross account setup take seconds or minutes to be affective.
Error: PutRecords API responded with error='InvalidSignatureException'
Fluent-bit agent reports PutRecords API responded with error='InvalidSignatureException', message='The request signature we calculated does not match the signature you provided. Check your AWS Secret Access Key and signing method. Consult the service documentation for details.'
Please restart the fluent-bit agent. For example, on EC2 with Amazon Linux2, run command:
sudo service fluent-bit restart
Error: PutRecords API responded with error='AccessDeniedException'
Fluent-bit agent deployed on EKS Cluster reports "AccessDeniedException" when sending records to Kinesis. Verify that the IAM role trust relations are correctly set. With the Centralized Logging with OpenSearch console:
- Open the Centralized Logging with OpenSearch console.
- In the left sidebar, under Log Source, choose EKS Clusters.
- Choose the EKS Cluster that you want to check.
- Click the IAM Role ARN which will open the IAM Role in AWS Console.
- Choose the Trust relationships to verify that the OIDC Provider, the service account namespace and conditions are correctly set.
You can get more information from Amazon EKS IAM role configuration
My CloudFormation stack is stuck on deleting an AWS::Lambda::Function resource when I update the stack. How to resolve it?
 The Lambda function resides in a VPC, and you need to wait for the associated ENI resource to be deleted.
The agent status is offline after I restart the EC2 instance, how can I make it auto start on instance restart?
This usually happens if you have installed the log agent, but restart the instance before you create any Log Ingestion. The log agent will auto restart if there is at least one Log Ingestion. If you have a log ingestion, but the problem still exists, you can use systemctl status fluent-bit
to check its status inside the instance.
I have switched to Global tenant. However, I still cannot find the dashboard in OpenSearch.
This is usually because Centralized Logging with OpenSearch received 403 error from OpenSearch when creating the index template and dashboard. This can be fixed by re-run the Lambda function manually by following the steps below:
With the Centralized Logging with OpenSearch console:
- Open the Centralized Logging with OpenSearch console, and find the AWS Service Log pipeline which has this issue.
- Copy the first 5 characters from the ID section. E.g. you should copy
c169cfrom IDc169cb23-88f3-4a7e-90d7-4ab4bc18982c - Go to AWS Console > Lambda. Paste in function filters. This will filter in all the lambda function created for this AWS Service Log ingestion.
- Click the Lambda function whose name contains "OpenSearchHelperFn".
- In the Test tab, create a new event with any Event name.
- Click the Test button to trigger the Lambda, and wait the lambda function to complete.
- The dashboard should be available in OpenSearch.
Error from Fluent-bit agent: version `GLIBC_2.25' not found
This error is caused by old version of glibc. Centralized Logging with OpenSearch with version later than 1.2 requires glibc-2.25 or above. So you must upgrade the existing version in EC2 first.
The upgrade command for different kinds of OS is shown as follows:
Important
We strongly recommend you run the commands with environments first. Any upgrade failure may cause severe loss.
Redhat 7.9
For Redhat 7.9, the whole process will take about 2 hours,and at least 10 GB storage is needed.
# install library
yum install -y gcc gcc-c++ m4 python3 bison  fontconfig-devel  libXpm-devel texinfo bzip2 wget
echo /usr/local/lib  >> /etc/ld.so.conf

# create tmp directory
mkdir -p /tmp/library
cd /tmp/library

# install gmp-6.1.0
wget https://ftp.gnu.org/gnu/gmp/gmp-6.1.0.tar.bz2
tar xjvf gmp-6.1.0.tar.bz2
cd gmp-6.1.0
./configure --prefix=/usr/local
make && make install
ldconfig
cd ..

# install mpfr-3.1.4
wget https://gcc.gnu.org/pub/gcc/infrastructure/mpfr-3.1.4.tar.bz2
tar xjvf mpfr-3.1.4.tar.bz2
cd mpfr-3.1.4
./configure --with-gmp=/usr/local --prefix=/usr/local
make && make install
ldconfig
cd ..

# install mpc-1.0.3
wget https://gcc.gnu.org/pub/gcc/infrastructure/mpc-1.0.3.tar.gz
tar xzvf mpc-1.0.3.tar.gz
cd mpc-1.0.3
./configure --prefix=/usr/local
make && make install
ldconfig
cd ..

# install gcc-9.3.0
wget https://ftp.gnu.org/gnu/gcc/gcc-9.3.0/gcc-9.3.0.tar.gz
tar xzvf gcc-9.3.0.tar.gz
cd gcc-9.3.0
mkdir build
cd build/
../configure --enable-checking=release --enable-language=c,c++ --disable-multilib --prefix=/usr
make -j4 && make install
ldconfig
cd ../..

# install make-4.3
wget https://ftp.gnu.org/gnu/make/make-4.3.tar.gz
tar xzvf make-4.3.tar.gz
cd make-4.3
mkdir build
cd build
../configure --prefix=/usr
make && make install
cd ../..

# install glibc-2.31
wget https://ftp.gnu.org/gnu/glibc/glibc-2.31.tar.gz
tar xzvf glibc-2.31.tar.gz
cd glibc-2.31
mkdir build
cd build/
../configure  --prefix=/usr --disable-profile --enable-add-ons --with-headers=/usr/include --with-binutils=/usr/bin --disable-sanity-checks --disable-werror
make all && make install
make localedata/install-locales

# clean tmp directory
cd /tmp
rm -rf /tmp/library
Ubuntu 22
sudo ln -s /snap/core20/1623/usr/lib/x86_64-linux-gnu/libcrypto.so.1.1 /usr/lib/x86_64-linux-gnu/libcrypto.so.1.1
sudo ln -s /snap/core20/1623/usr/lib/x86_64-linux-gnu/libssl.so.1.1 /usr/lib/x86_64-linux-gnu/libssl.so.1.1
sudo ln -s /usr/lib/x86_64-linux-gnu/libsasl2.so.2 /usr/lib/libsasl2.so.3
Amazon Linux 2023
sudo su -

yum install -y wget perl unzip gcc zlib-devel
mkdir /tmp/openssl
cd /tmp/openssl
wget https://www.openssl.org/source/openssl-1.1.1s.tar.gz
tar xzvf openssl-1.1.1s.tar.gz
cd openssl-1.1.1s
./config --prefix=/usr/local/openssl11 --openssldir=/usr/local/openssl11 shared zlib
make
make install

echo /usr/local/openssl11/lib/ >> /etc/ld.so.conf
ldconfig
I found that the OpenSearch data node's disk space was full, and then executed "delete index_prefix*" from the dev tools in the OpenSearch Dashboards. After execution, the index name suffix no longer contains the time format. What should I do to fix?
Note
The following operation will delete the currently written index, resulting in data loss.
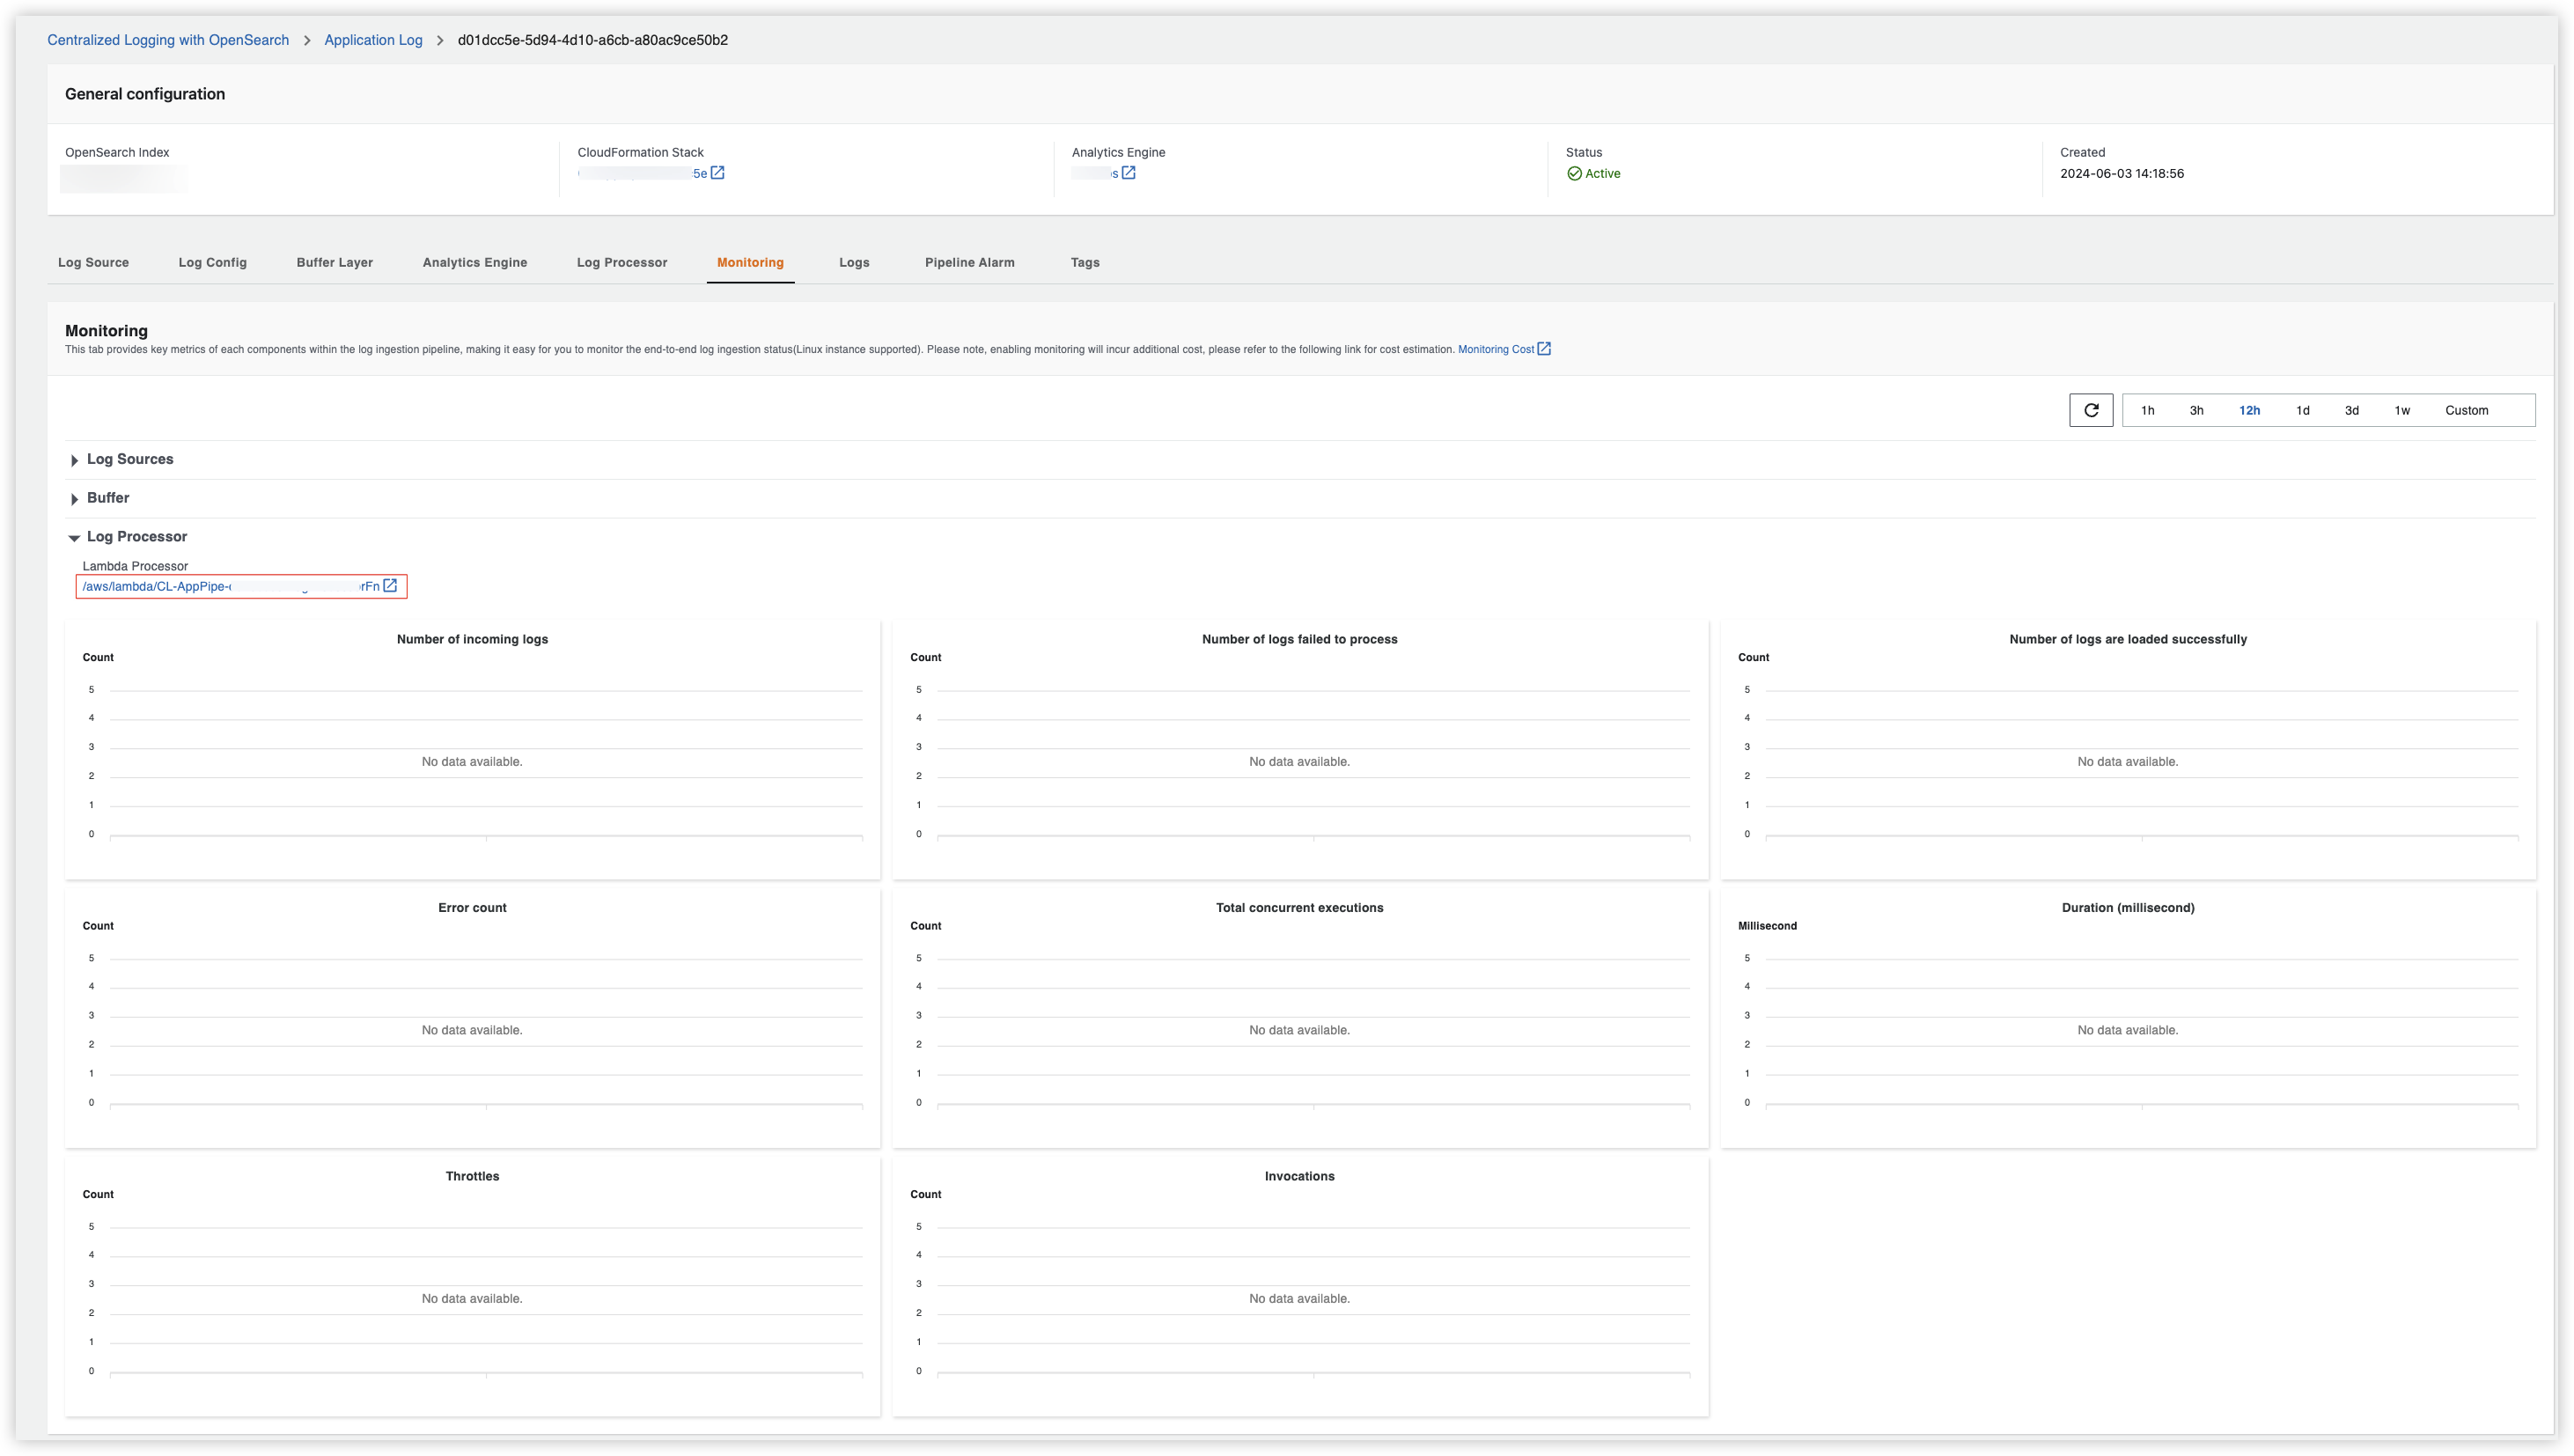
- Open the Centralized Logging with OpenSearch console, find the pipeline which has this issue and choose View details.
- Go to Monitoring > Lambda Processor, and click on the link(start with
/aws/lambda/CL-xxx) under Lambda Processor.
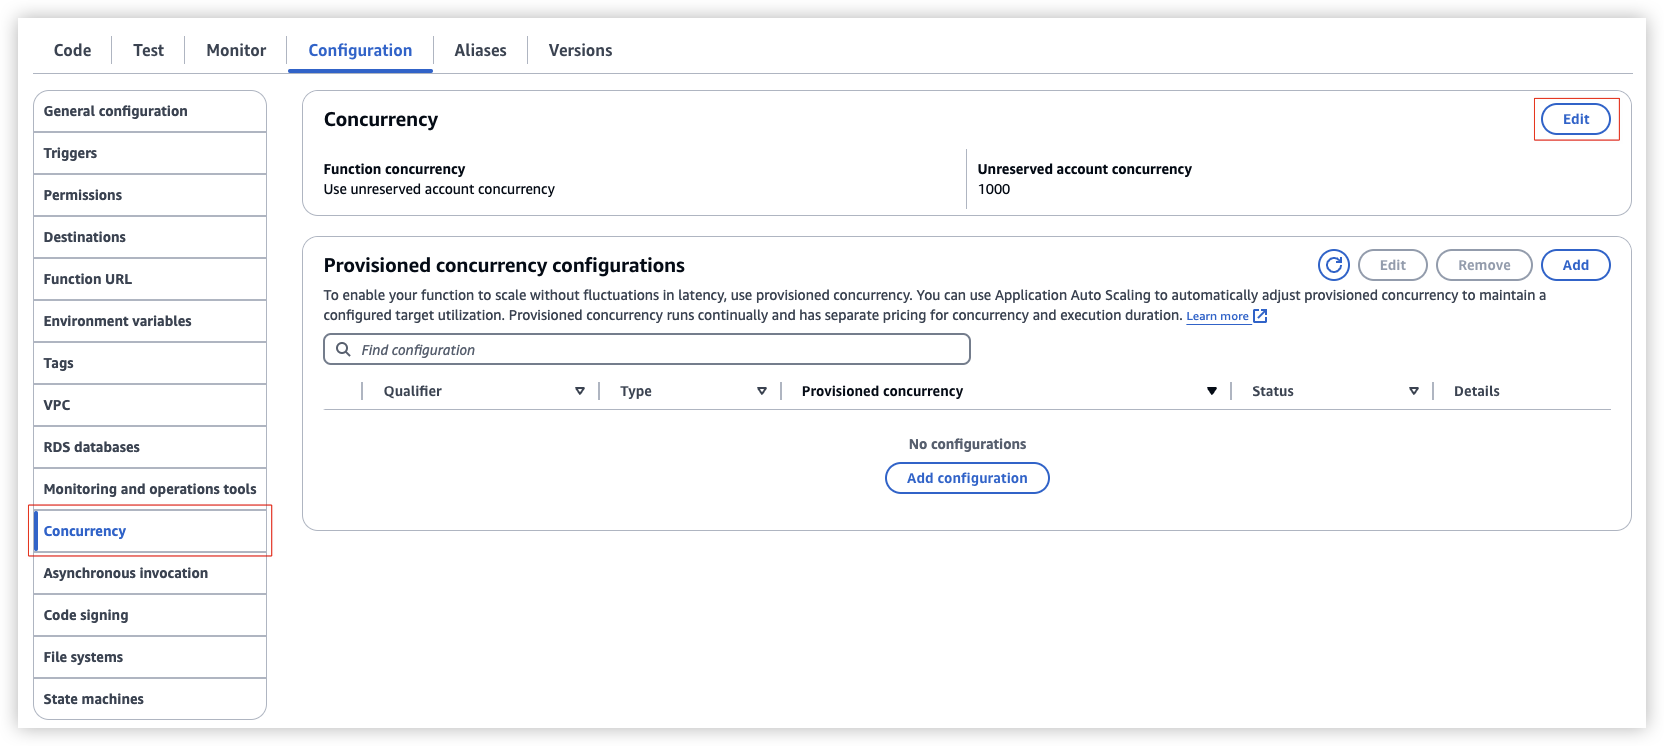
- Go to Lambda console > Configuration > Concurrency, choose Edit, select Reserve concurrency and set it to 0.

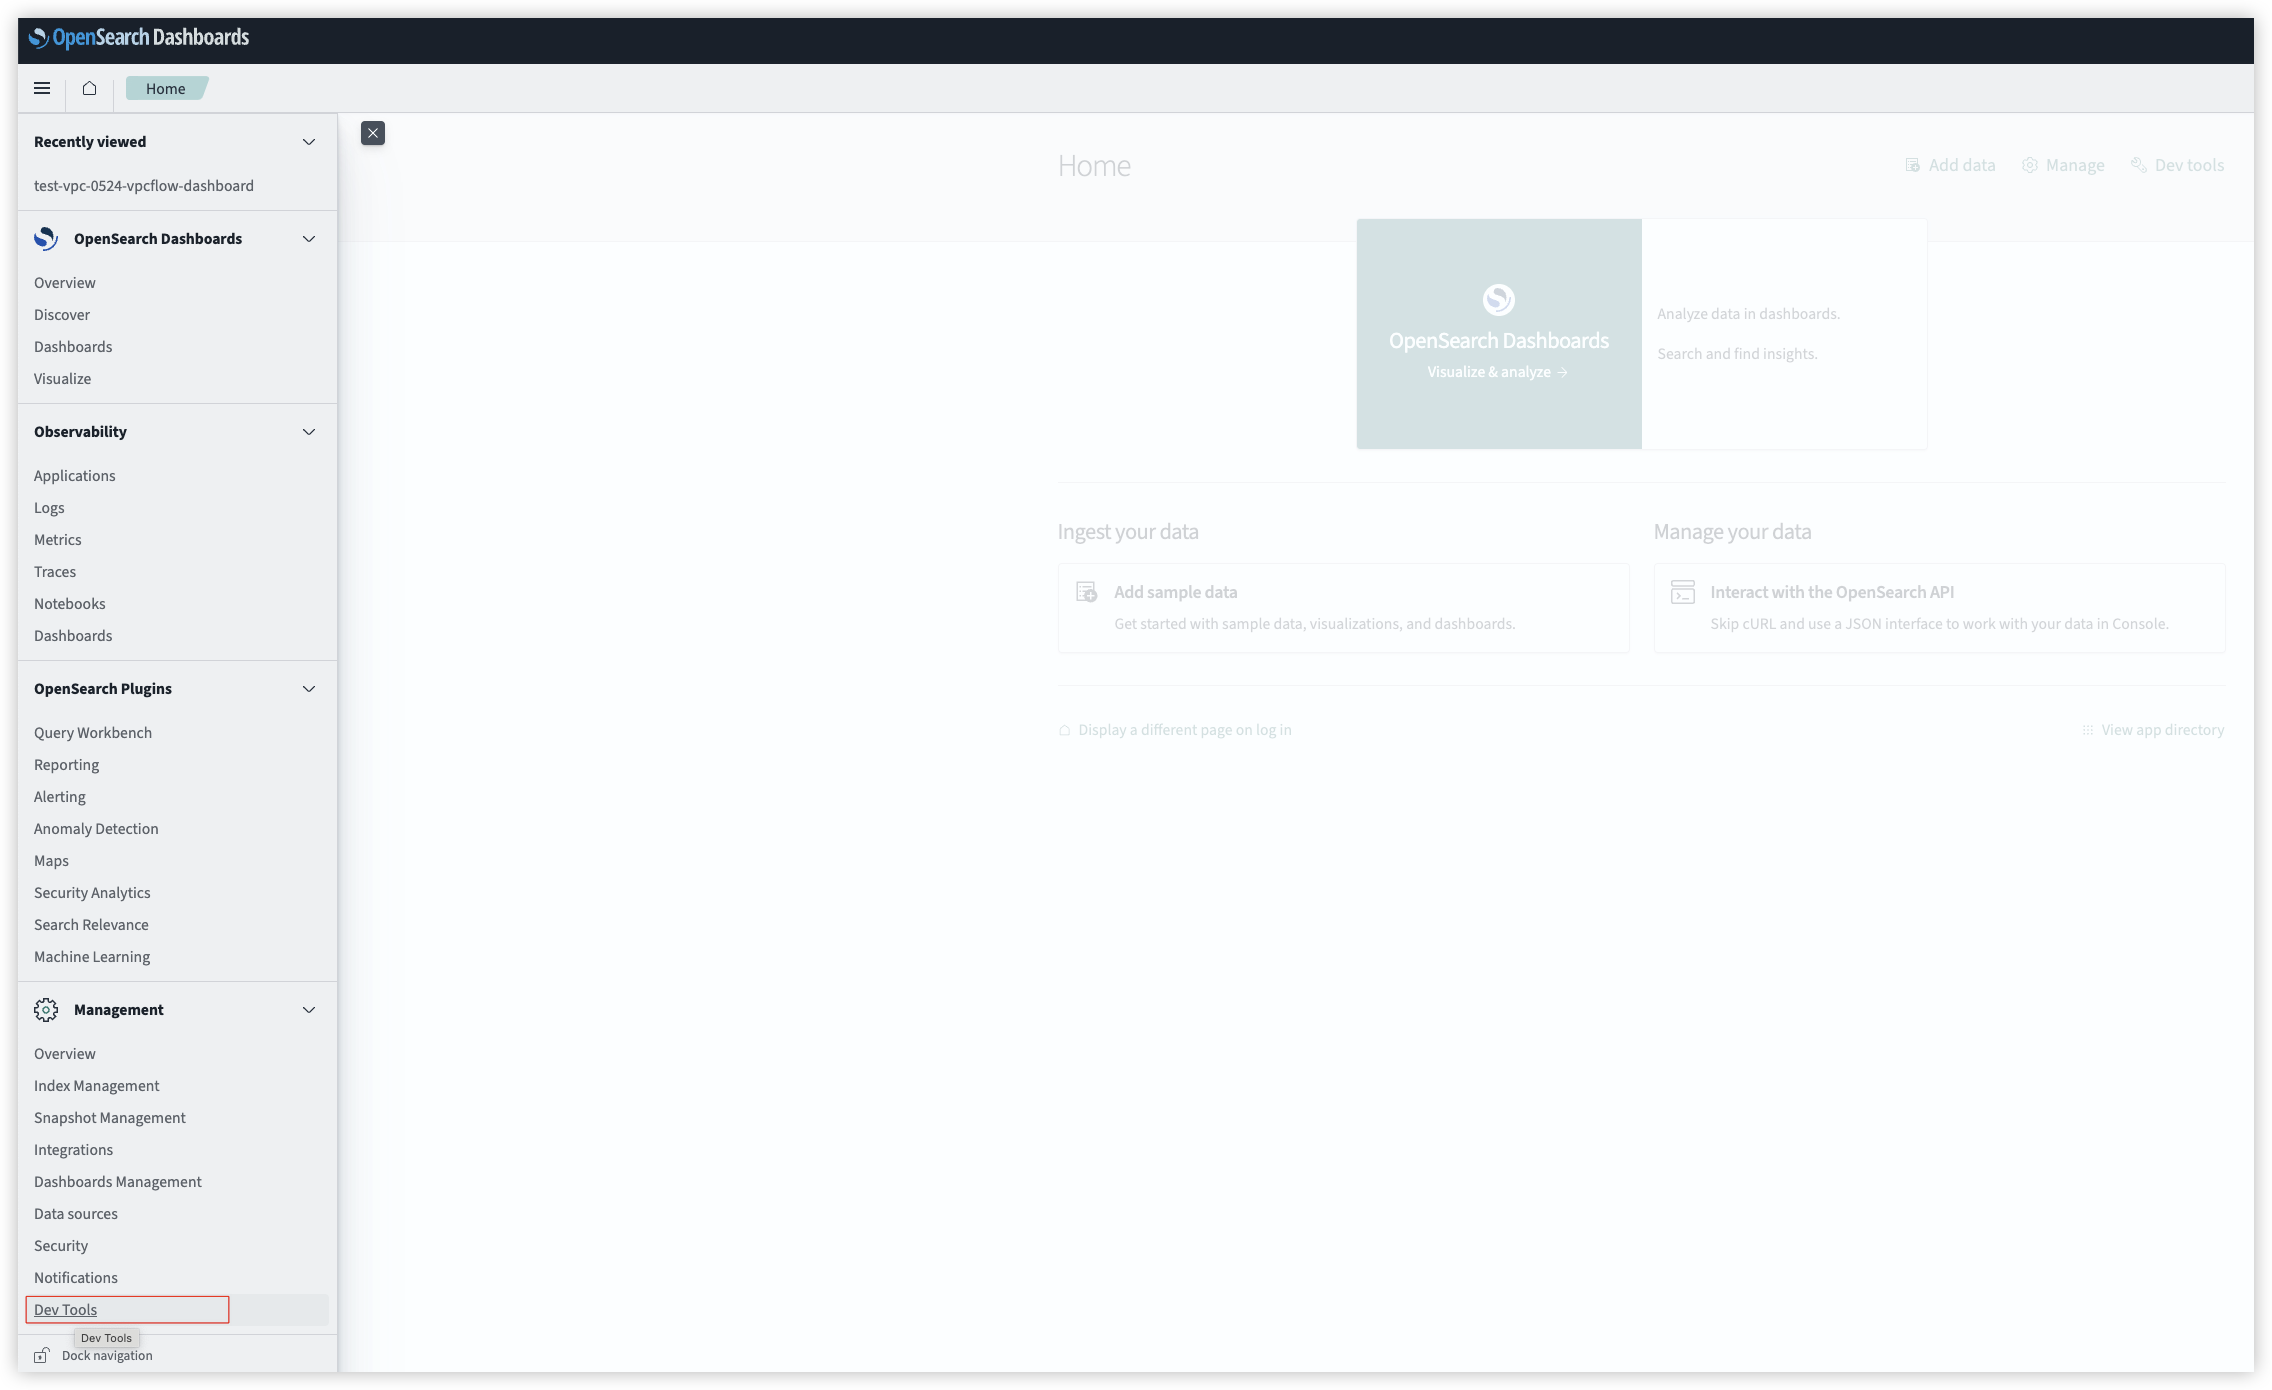
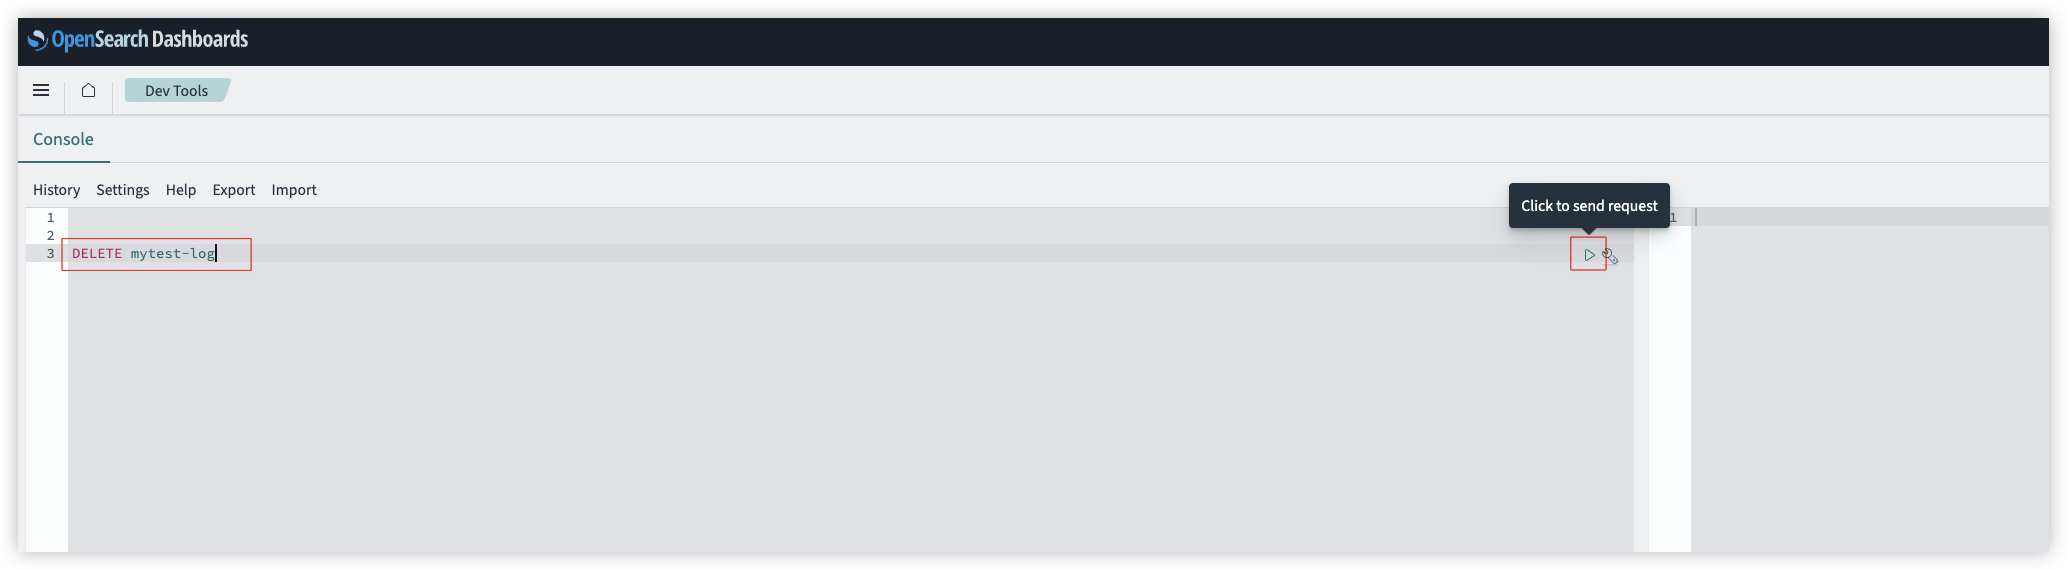
- Open the OpenSearch Dashboards, go to Dev Tools, input
DELETE your_index_nameand click to send request.
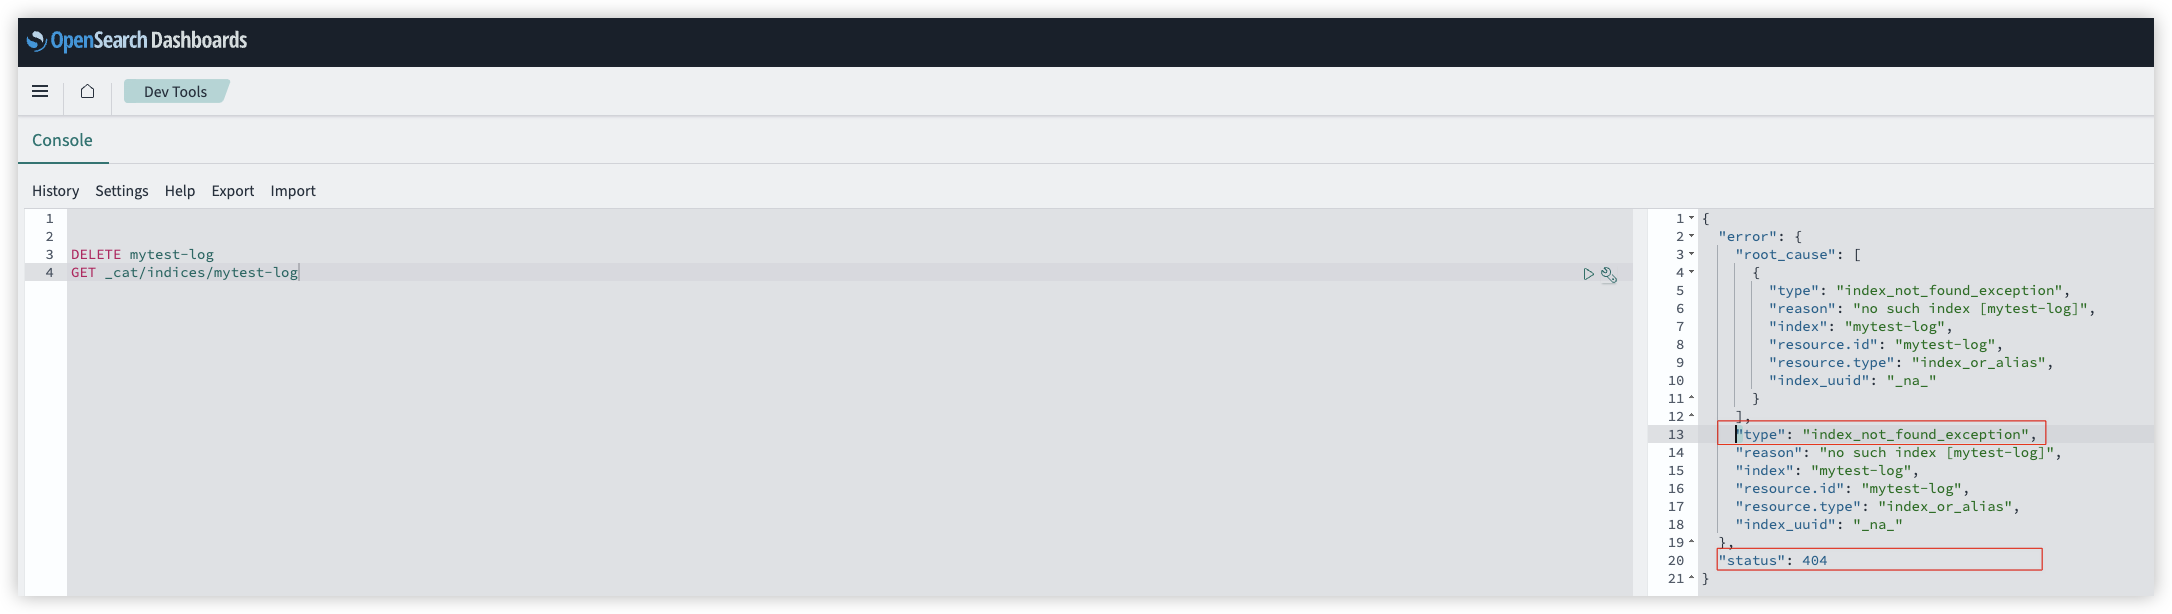
- Input
GET _cat/indices/your_index_nameand click to send request. If "status" is 404 and "type" is index_not_found_exception in the returned result, it means success. Otherwise, please repeat step 4.
-
Input
POST /your_index_name/_rolloverand click to send request. -
Go to Lambda console > Configuration > Concurrency, choose Edit, select Reserve concurrency and set it to the value you want, or select Use unreserved account concurrency, save.
Standard Operating Procedure for Proxy Stack Connection Problems
When I access OpenSearch dashboards through the proxy, the browser shows 504 gateway timeout
Possible Root cause:
a. If instances keeps terminating and initializing
i. Wrong security Group
b. Instances are not keep terminating
  i. VPC peering request not accepted

  ii. Peering with the wrong VPC

  iii. Route table has the wrong routes
c. Check if VPC Peering is working.
When I access OpenSearch dashboards through the proxy, the browser shows "Site can't be reached"
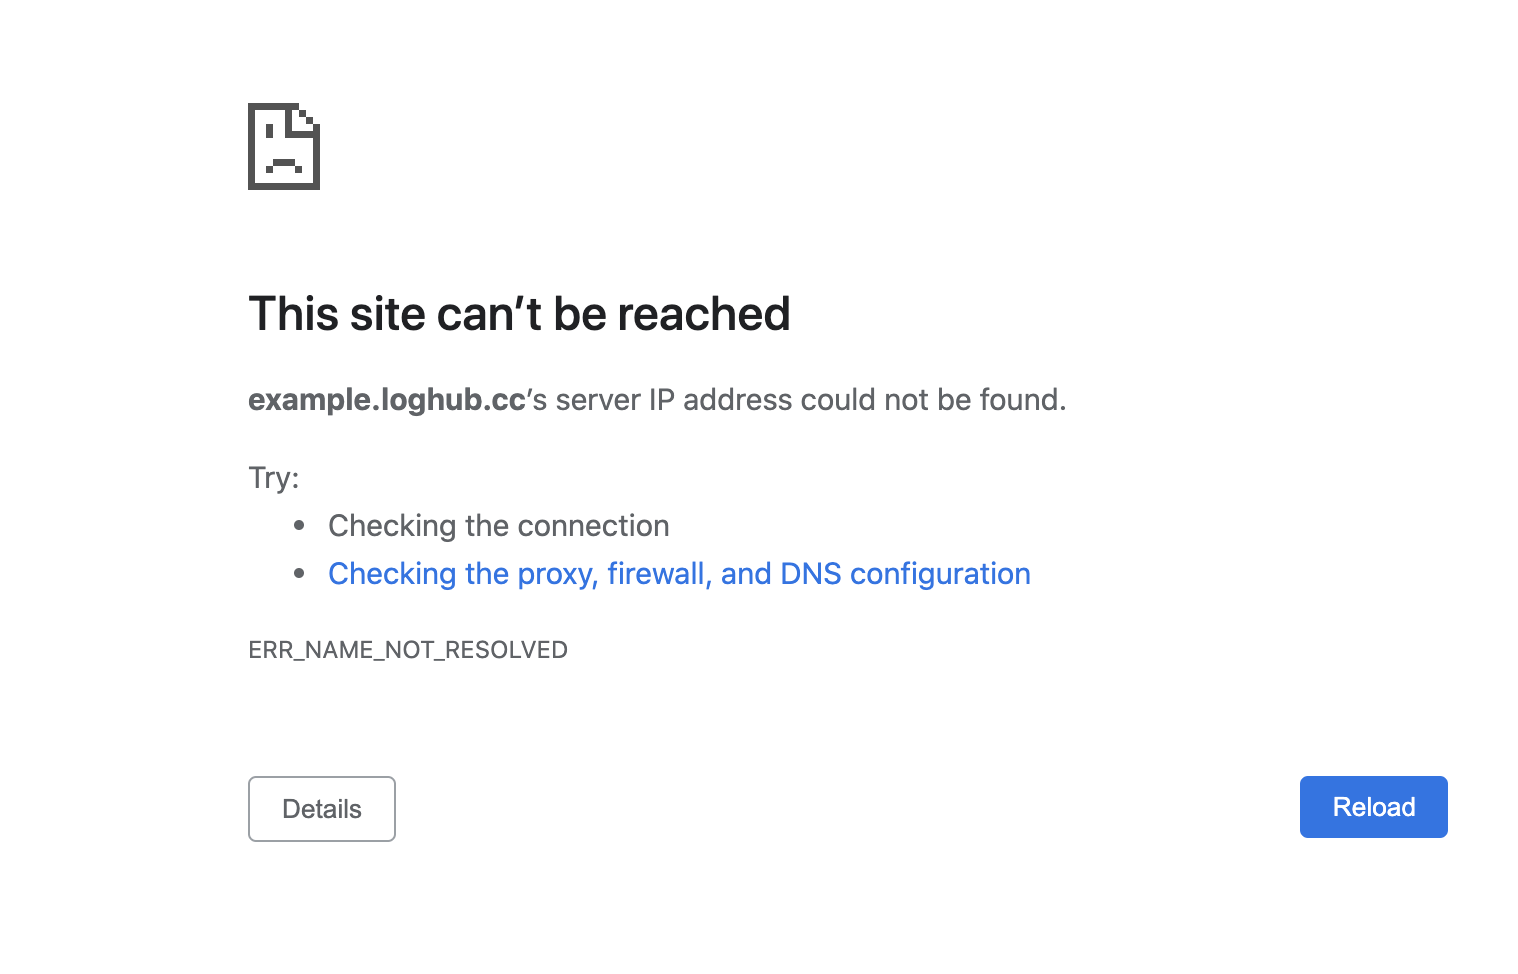
Possible root cause:
1. Application Load Balancer is deployed inside private subnet

2. The proxy stack has just been re-deployed, it takes at least 15mins for DNS server to resolve the new Load Balancer endpoint address
Solution:
1. ALB deploy location is wrong, just delete the proxy stack and create a new one

2. wait for 15 mins
I set the log collection path to /log_path/*.log, what will be the impact?
Note
Normally we don't recommend using wildcard * as a prefix for matching logs. If there are hundreds, or even thousands of files in the directory, this will seriously affect the rate of FluentBit's log collection, and it is recommended that you can remove outdated files on a regular basis.
The log file names are the same for different systems, but the log path contains the system name in order to differentiate between the different systems. I wish to create a pipeline to handle this, how should I set the log path?
Note
Let's go through an example:
For example, we have 3 environments, dev, staging, prod. The log paths are /log_path/dev/jvm.log, /log_path/staging/jvm.log, and /log_path/prod/jvm.log. In this scenario if you wish to create only one pipeline, you can set the log path as follows:

/log_path/*/jvm.log.
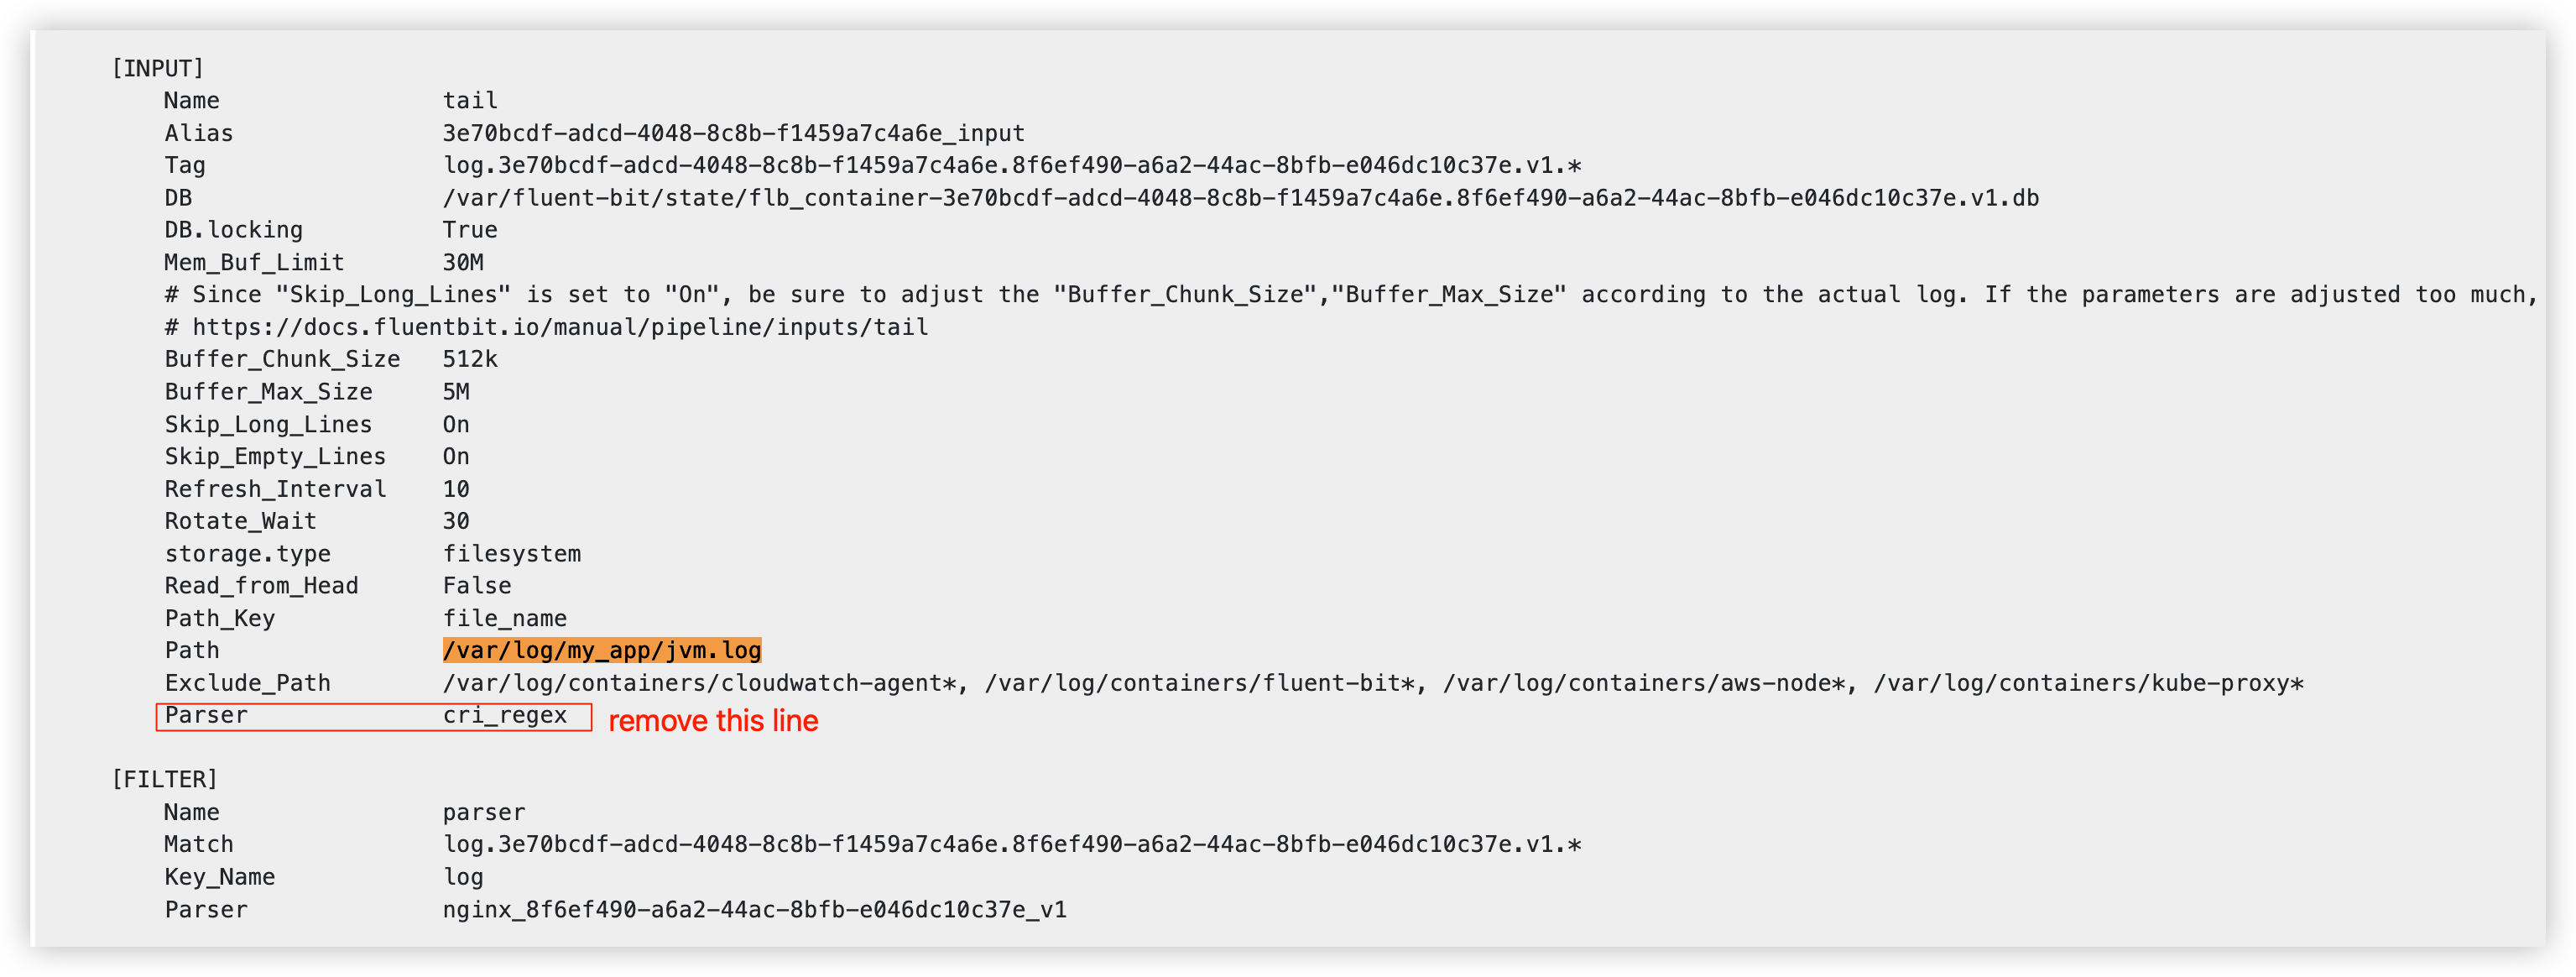
In EKS environment, I am using DaemonSet mode to collect logs, but my logs are not using standard output mode, how should I configure the Yaml file for deployment?
As we know, if you create a pipeline and the selected log source is EKS in the CLO, the system will automatically generate the content in YAML format for you to assist you in creating the deployment file for you to deploy FluentBit. You can match the log path /your_log_path/ in the YAML file and remove the Parser cri_regex. Please refer to the following screenshot for details: