Access proxy
By default, an Amazon OpenSearch Service domain within VPC cannot be accessed from the Internet. Centralized Logging with OpenSearch creates a highly available Nginx cluster which allows you to access the OpenSearch Dashboards from the Internet. Alternatively, you can choose to access the Amazon OpenSearch Service domains using SSH Tunnel.
This section introduces the proxy stack architecture and how to complete the following:
- Create a proxy
- Create an associated DNS record
- Access Amazon OpenSearch Service via proxy
- Delete a proxy
Architecture
Centralized Logging with OpenSearch creates an Auto Scaling Group (ASG) together with an Application Load Balancer (ALB).

The workflow is as follows:
-
Users access the custom domain for the proxy, and the domain needs to be resolved via DNS service (for example, using Route 53 on AWS).
-
The DNS service routes the traffic to internet-facing ALB.
-
The ALB distributes traffic to backend Nginx server running on Amazon EC2 within ASG.
-
The Nginx server redirects the requests to OpenSearch Dashboards.
-
(optional) VPC peering is required if the VPC for the proxy is not the same as the OpenSearch service.
Create a proxy
You can create the Nginx-based proxy using the Centralized Logging with OpenSearch console or by deploying a standalone CloudFormation stack.
Prerequisites
- Make sure an Amazon OpenSearch Service domain within VPC is available.
- The domain associated SSL certificate is created or uploaded in Amazon Certificate Manager (ACM).
- Make sure you have the EC2 private key (.pem) file.
Using the Centralized Logging with OpenSearch console
- Log in to the Centralized Logging with OpenSearch console.
- In the navigation pane, under Domains, choose OpenSearch domains.
- Select the domain from the table.
-
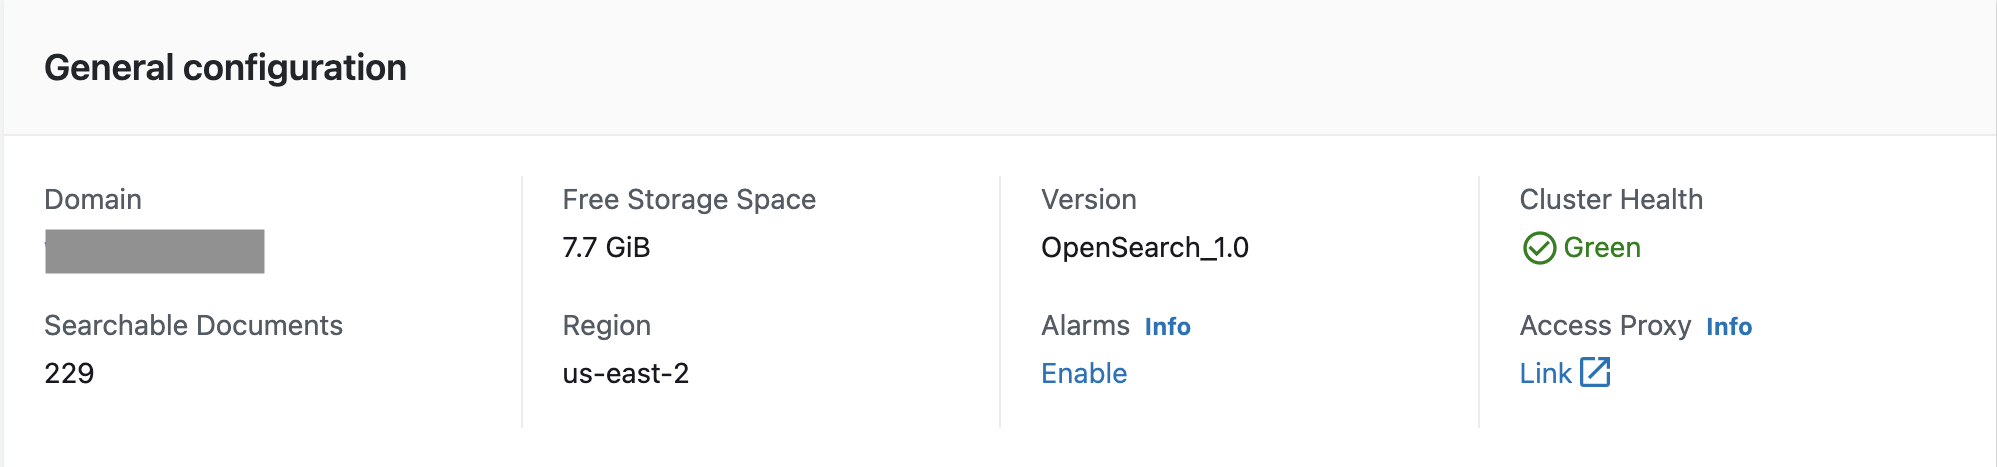
Under General configuration, choose Enable at the Access Proxy label.
Note
Once the access proxy is enabled, a link to the access proxy will be available.
-
On the Create access proxy page, under Public access proxy, select at least 2 subnets for Public Subnets. You can choose 2 public subnets named
LogHubVPC/DefaultVPC/publicSubnet, which are created by Centralized Logging with OpenSearch by default. - Choose a Security Group of the ALB in Public Security Group. You can choose a security group named
ProxySecurityGroup, which is created by Centralized Logging with OpenSearch default. - Enter the Domain Name.
- Choose Load Balancer SSL Certificate associated with the domain name.
- Choose the Nginx Instance Key Name.
- Choose Create.
Using the CloudFormation stack
This automated AWS CloudFormation template deploys the Centralized Logging with OpenSearch - Nginx access proxy solution in the AWS Cloud.
-
Log in to the AWS Management Console and select the button to launch the AWS CloudFormation template.

You can also download the template as a starting point for your own implementation.
-
To launch the stack in a different AWS Region, use the Region selector in the console navigation bar.
-
On the Create stack page, verify that the correct template URL shows in the Amazon S3 URL text box and choose Next.
-
On the Specify stack details page, assign a name to your stack.
-
Under Parameters, review the parameters for the template and modify them as necessary. This solution uses the following parameters.
Parameter Default Description VPCId <Requires input>The VPC to deploy the Nginx proxy resources, for example, vpc-bef13dc7.PublicSubnetIds <Requires input>The public subnets where ELB are deployed. You need to select at least two public subnets, for example, subnet-12345abc, subnet-54321cba.PrivateSubnetIds <Requires input>The private subnets where Nginx instances are deployed. You need to select at least two private subnets, for example, subnet-12345abc, subnet-54321cba.KeyName <Requires input>The PEM key name of the Nginx instances. NginxSecurityGroupId <Requires input>The Security group associated with the Nginx instances. The security group must allow access from ELB security group. ProxyInstanceType t3.large OpenSearch proxy instance type. e.g. t3.micro ProxyInstanceNumber 2 OpenSearch proxy instance number. e.g. 1 to 4 Endpoint <Requires input>The OpenSearch endpoint, for example, vpc-your_opensearch_domain_name-xcvgw6uu2o6zafsiefxubwuohe.us-east-1.es.amazonaws.com.EngineType OpenSearch The engine type of the OpenSearch. Select OpenSearch or Elasticsearch. CognitoEndpoint <Optional>The Cognito User Pool endpoint URL of the OpenSearch domain, for example, mydomain.auth.us-east-1.amazoncognito.com. Leave empty if your OpenSearch domain is not authenticated through Cognito User Pool.ELBSecurityGroupId <Requires input>The Security group being associated with the ELB, for example, sg-123456.ELBDomain <Requires input>The custom domain name of the ELB, for example, dashboard.example.com.ELBDomainCertificateArn <Requires input>The SSL certificate ARN associated with the ELBDomain. The certificate must be created from Amazon Certificate Manager (ACM). ELBAccessLogBucketName <Requires input>The Access Log Bucket Name for Proxy ELB SsmParameterValueawsserviceamiamazonlinuxlatestamzn2amihvmx8664gp2C96584B6F00A464EAD1953AFF4B05118Parameter /aws/service/ami-amazon-linux-latest/amzn2-ami-hvm-x86_64-gp2 The SSM parameter of the proxy instance AMI. You can use the default value in most cases. -
Choose Next.
-
On the Configure stack options page, choose Next.
-
On the Review page, review and confirm the settings. Check the box acknowledging that the template creates AWS Identity and Access Management (IAM) resources.
-
Choose Create stack to deploy the stack.
You can view the status of the stack in the AWS CloudFormation console in the Status column. You should receive a CREATE_COMPLETE status in approximately 15 minutes.
Recommended Proxy Configuration
The following table provides a list of recommended proxy configuration examples for different number of concurrent users. You can create proxy according to your own use cases.
| Number of Concurrent Users | Proxy Instance Type | Number of Proxy Instances |
|---|---|---|
| 4 | t3.nano | 1 |
| 6 | t3.micro | 1 |
| 8 | t3.nano | 2 |
| 10 | t3.small | 1 |
| 12 | t3.micro | 2 |
| 20 | t3.small | 2 |
| 25 | t3.large | 1 |
| 50+ | t3.large | 2 |
Create an associated DNS record
After provisioning the proxy infrastructure, you need to create an associated DNS record in your DNS resolver. The following introduces how to find the ALB domain, and then create a CNAME record pointing to this domain.
- Log in to the Centralized Logging with OpenSearch console.
- In the navigation pane, under Domains, choose OpenSearch domains.
- Select the domain from the table.
- Choose the Access Proxy tab. You can see Load Balancer Domain which is the ALB domain.
- Go to the DNS resolver, create a CNAME record pointing to this domain. If your domain is managed by Amazon Route 53, refer to Creating records by using the Amazon Route 53 console.
Access Amazon OpenSearch Service via proxy
After the DNS record takes effect, you can access the Amazon OpenSearch Service built-in dashboard from anywhere via proxy. You can enter the domain of the proxy in your browser, or click the Link button under Access Proxy in the General Configuration section.
Delete a Proxy
- Log in to the Centralized Logging with OpenSearch console.
- In the navigation pane, under Domains, choose OpenSearch domains.
- Select the domain from the table.
- Choose the Access Proxy tab.
- Choose the Delete.
- On the confirmation prompt, choose Delete.